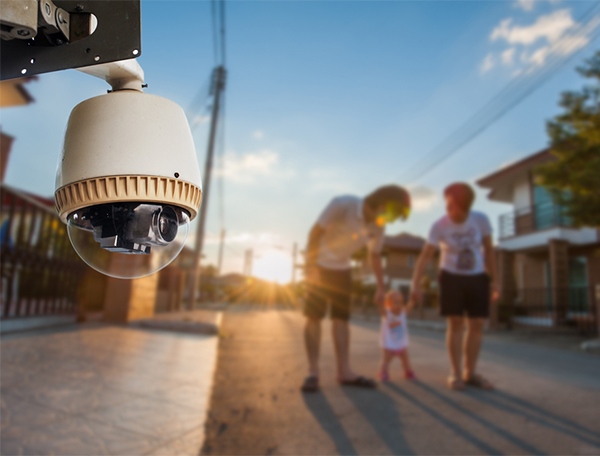
There are numerous benefits to installing security cameras outside your home, from acting as a deterrent to thieves and intruders, to allowing you to keep an eye on things when you’re not there.
If you’re considering installing outdoor security cameras in your home, this guide will fill you in on the basics to help you design and install a reliable security camera system.
Best Areas to Install Outdoor Security Cameras
A security camera installed in the wrong location is ultimately useless, so it’s important to plan where you’ll place each camera to ensure you capture the most important visuals.
Think about which areas of the home require monitoring. As a minimum, you’ll need at least one camera covering the main entry points to the home (usually the front and back doors), but you may also want to capture footage of the front gate, driveway, garage, side pathways or windows with ground floor access.

Here are some helpful tips when designing an installation plan:
- consider the lighting in each location, as backlighting could affect picture quality
- ensure cameras are adequately protected from the elements
- think about how to power outdoor security cameras and choose locations within close proximity to a power source (unless battery operated)
- install the cameras at a good height (ideally around 5m) where they can’t be easily tampered with, but can still capture good quality imagery
- consider if an area needs more than one camera to cover any blind spots
- for Wi-Fi cameras, ensure they’re close enough to the router to provide good signal strength, or install a Wi-Fi extender
- be mindful of privacy implications, such as a camera pointing directly into a neighbour’s property
Step-by-step Guide for Installing Security Cameras Outside Your Home
Before installing your security cameras, make sure you read the product manual and test the system to ensure everything works properly.
Here’s a basic step-by-step guide for installing outdoor security cameras:
- Decide where you want to mount the camera and locate the nearest power source (ideally inside the home)
- Drill a hole large enough for a power cable through the wall, checking that you won’t be drilling into any wires or pipes
- Push the power cable through the hole and mount the camera using appropriate tamper-proof fixings for the surface type
- Connect the internal power cable to the power source and position the angle of the camera to capture the view you want (ideally at a downward angle)
Is it Worth Getting Professional Security Camera Installation?
The complexity of installation can vary according to the type of camera and the property. If you don’t feel confident installing your security cameras yourself, it’s worth having them professionally installed.
At Calamity, we can take care of every aspect of your outdoor security camera installation. We’ll recommend the most suitable camera types and optimal configuration, and install and test the cameras for you. If desired, we can also design a more comprehensive home security solution based on your individual needs.
Find out more about our home security solutions or contact us to request a home security consultation.

